

How to deposit
Step 1: Login
1.1 To start a new submission, you have to log in first. Click “Login” on the right side of your desktop.

1.2 Select “Log in with Shibboleth” and access the system using the credentials of your home institution.

1.3 Check whether your home institution is part of the AAI federation by using the search bar. This will open a list of institutions. Start typing and select your home organisation.

You can now proceed directly to log in using your institutional credentials.
Step 2: Starting a new submission
2.1 Once you are logged in, click on the green icon in the left corner of your desktop.

2.2 You can now click “New” to create a new submission. Then click “Item”.

You have started a new workflow item. In the next steps, you will provide the details of the item and upload the relevant files.
Step 3: Select Collection
3.1 First, choose the collection where you want to save your item from the drop-down menu.

Belong to a collection? Pick yours from the list. If not, choose OPEN Data & Tools.

Step 4: Check your handle/persistent identifier
Check that the system automatically assigns you a handle? , which will be the persistent identifier of the published resource, once approved in the repository.
If it is not generated, contact the helpdesk at dspace-clarin-it-ilc-help@ilc.cnr.it .

Step 5: Describe your resource
Now you can begin describing your resource. Fill in all the relevant information.
Below you will find some practical tips for completing the item details. For more detailed guidance, see the extended version at [LINK TO THE EXTENDED VERSION].
- The data form is displayed on a single page, so you can scroll down to view all the fields.
- The system saves automatically, but it is recommended to use the button at the bottom of the page for manual saving.

5.1 Choose the resource type from the drop down menu.
Please note that depending on your selection, the input fields may vary slightly to better suit the specific resource type.

5.2 Complete all the missing information. Remember that some fields are mandatory and marked with an asterisk (*), so make sure to complete them before submitting.
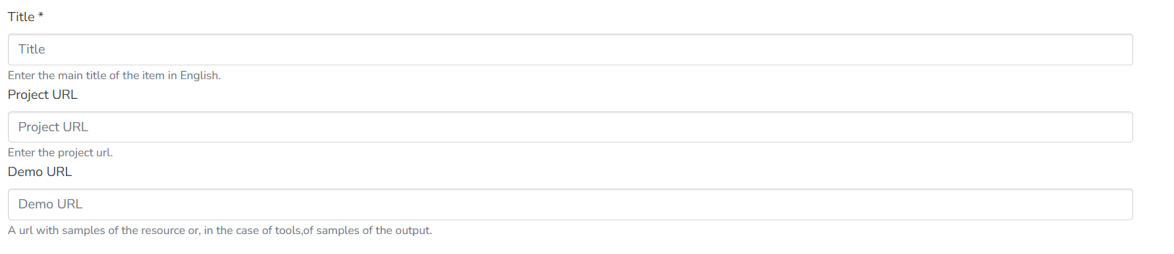
Demo Url: Provide a URL for direct access to the resource or a demonstration.

It is advisable to include a link to one or more published technical articles or reports.

Reporting the year alone is sufficient.

You may add multiple publishers/authors by clicking “+ Add more” if needed.

This refers to the contact person for the resource – the individual(s) responsible for it who can respond to any questions.

Funding refers to the financial support received for creating the resource.
- If the resource was funded through a research project, you can specify it here.
- For European or national projects that are listed in official databases, you can start typing the project title, and if the project is found, the system will automatically fill in the relevant details.

Description – A detailed textual description of the resource content. Ensure it is clear and comprehensive so that other users can easily determine whether the resource is relevant or useful for their needs.
Language – Refers to the language of the resource’s content, not to the language of its descriptive metadata or annotations. Please include all languages represented in the resource.

Subject keywords: Use existing keywords when possible – auto-complete will appear as you type.
Size: It is a numeric field. First, check available units. Multiple size measures can be added if needed.

This indicates the specific subtype of the resource. Available options in the dropdown menu depend on the main resource type chosen at the start.
Step 6: Upload your file
If you didn't upload the file(s) at the beginning, drag and drop the file(s) that make up your resource. It is good practice to also upload a readme file.

Upload your file(s)
Drag and drop here

Your file has been successfully uploaded here:

Step 7: Accept the distribution license agreement
Before depositing, you need to accept the distribution license agreement.

Step 8: Select a licence for your data/software/model

While the metadata are publicly available, you must select an appropriate license for the resource you deposit from the dropdown list.
If you are unsure which license to choose, you can use the “Open License Selector” tool, which guides you through the decision.
Step 9 (optional): Communicate with reviewers and curators

You can leave a message for the reviewers / curators if needed. It will remain private and will not be included in the published metadata.
Step 10: Depositing
- Here you can verify that everything has been saved.
- Click “Deposit” to finalize your submission and send it to the curators for approval.

Alternatively, by clicking “Save for later,” you can view everything you have uploaded, including all your drafts.
Remember to save your work regularly!

After you deposit your item, it leaves your workspace and enters the validation workflow (described in Submission Lifecycle ).
Editing is no longer possible, you are only allowed to view your items.
Step 11: Monitor the status of your submission(s)
You can track the status of your item(s) in the “Submissions” area on the left bar.

When an item has been deposited and is under review by the curators, only the “View” button will be available to you.
Once the item is approved in the repository, it will be displayed as “Archived”.
